HP Toner Cartridge Installation
Key Takeaways
- Follow specific steps for your HP LaserJet model for a successful installation.
- Handle toner cartridges carefully to avoid damage and ensure proper function.
- Always turn off the printer and unplug it before installation.
- Use genuine HP toner cartridges for the best results.
Installing toner cartridges in your HP LaserJet printer can seem daunting, but with the right guidance, it is a straightforward process. This step-by-step guide will help you understand how to install toner cartridges in various HP LaserJet printer models, ensuring your printer operates smoothly and efficiently.
Understanding HP LaserJet Printers
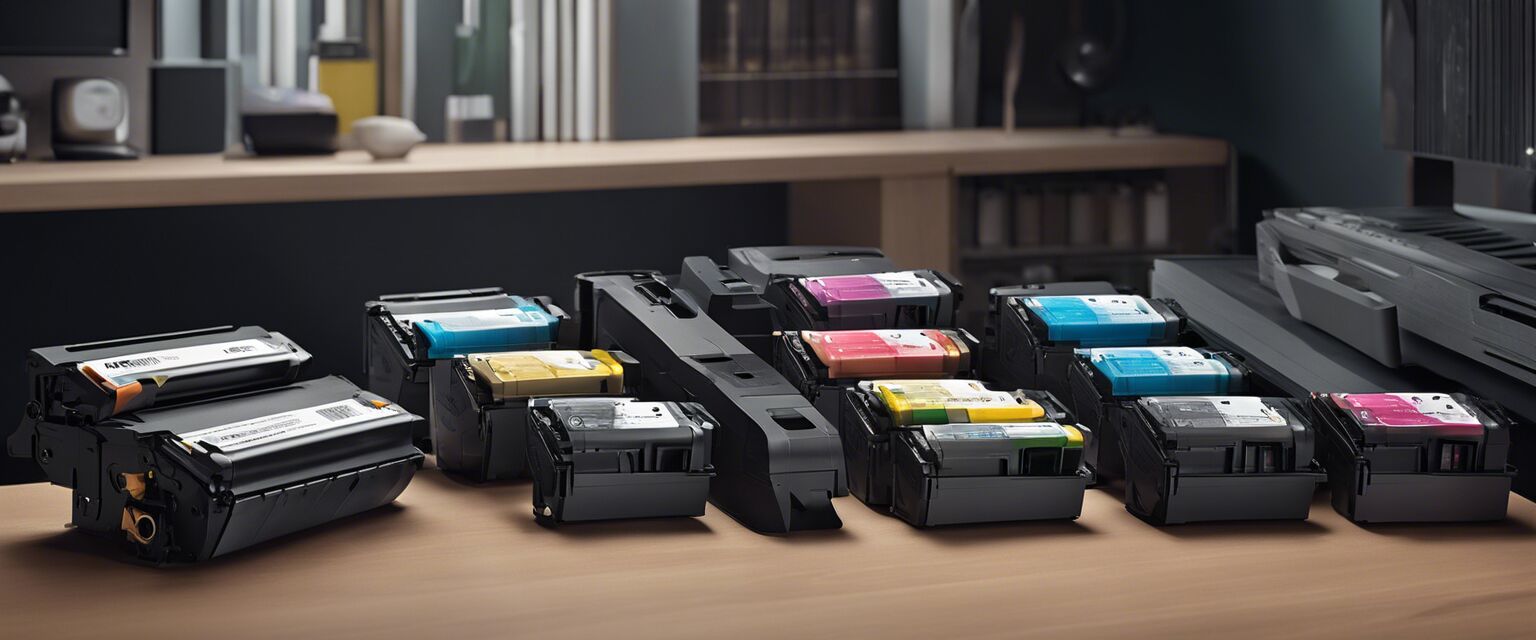
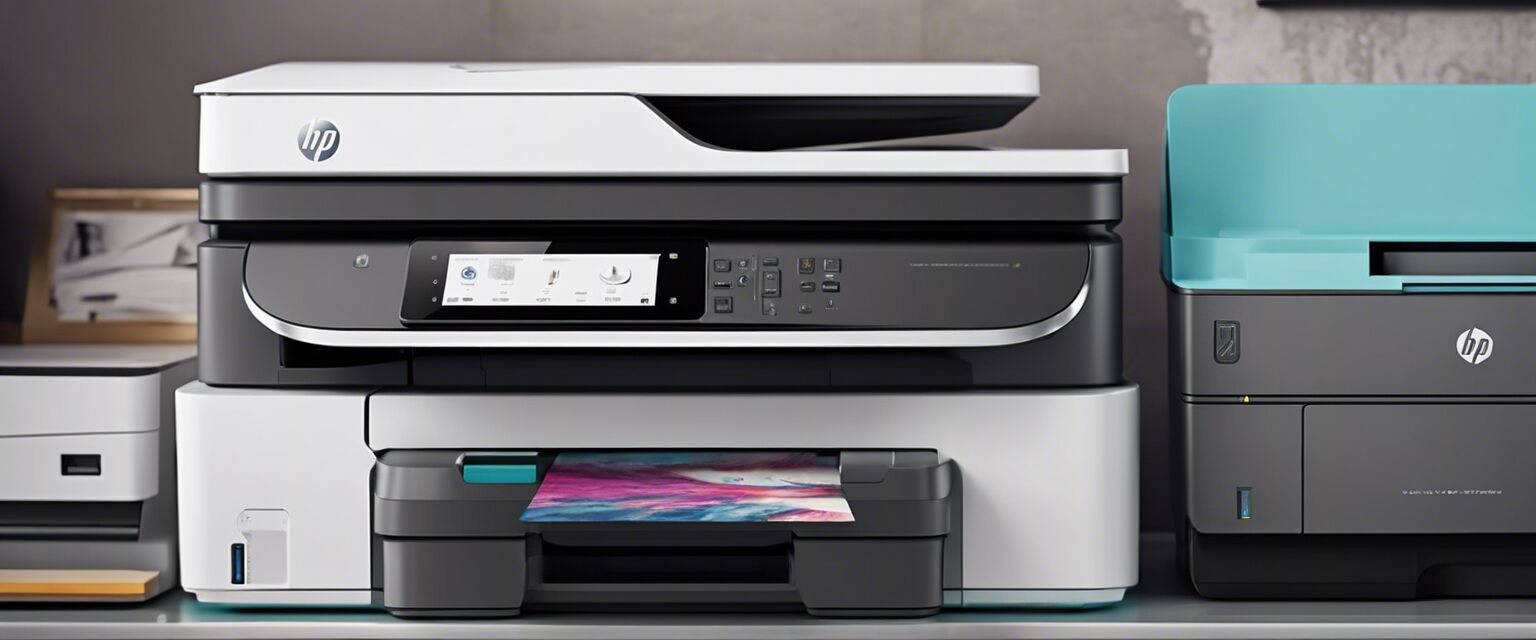
HP LaserJet printers are known for their high-quality printing and reliability. They utilize toner cartridges that contain powdered ink, resulting in sharp text and images. Knowing your printer model is essential, as the installation process may vary. Here are some common models:
| Printer Model | Toner Cartridge Type |
|---|---|
| HP LaserJet Pro M15w | HP 48A |
| HP LaserJet Pro M404dn | HP 58A |
| HP Color LaserJet Pro MFP M479fdw | HP 414A |
| HP LaserJet Enterprise M507dn | HP 58X |
Before You Begin
Before installing your toner cartridge, make sure you have the following:
- New toner cartridge compatible with your printer model.
- Clean, flat surface for installation.
- Soft cloth to clean any spills or dust.
- Safety glasses (optional) to protect your eyes.
Step-by-Step Installation Guide
Follow these steps for a successful toner cartridge installation:
Step 1: Prepare the Printer
- Turn off the printer and unplug it from the electrical outlet.
- Open the printer's front cover to access the toner cartridge compartment.
- Remove any old toner cartridges if necessary.
Step 2: Unpack the New Toner Cartridge
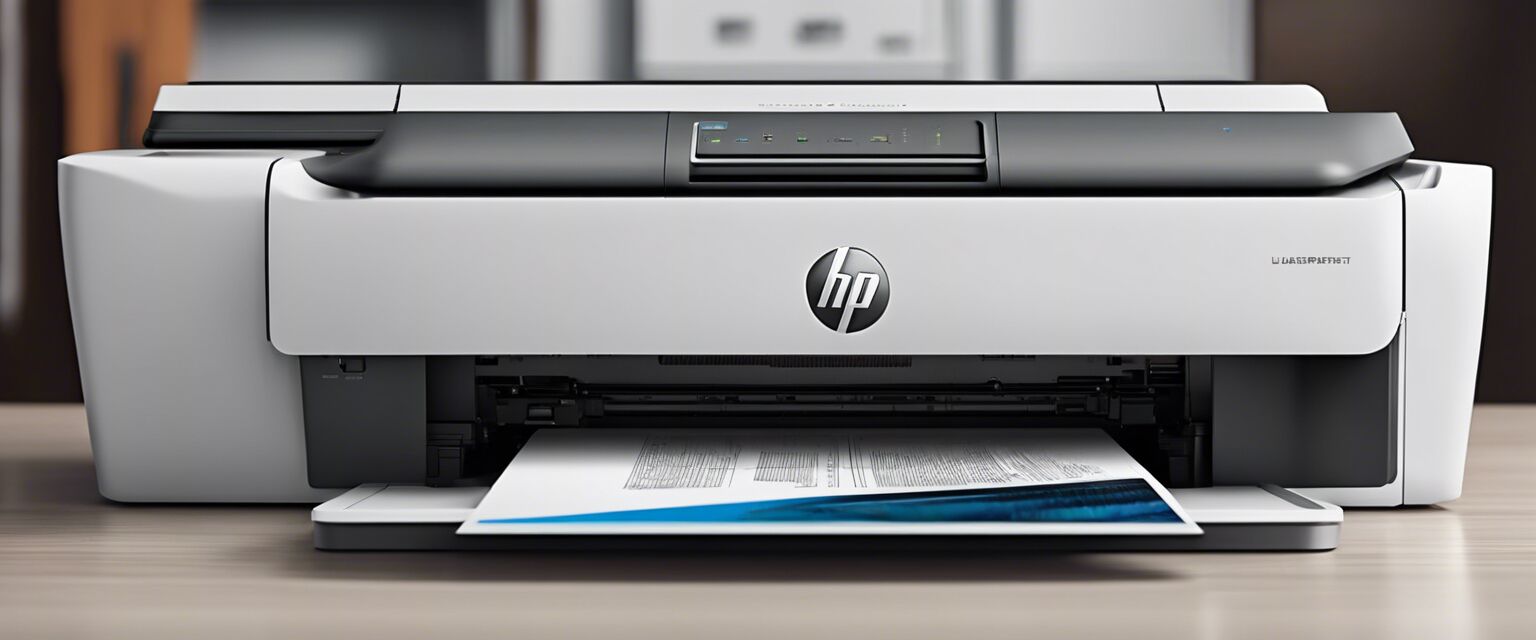
- Remove the new toner cartridge from its packaging.
- Carefully remove any protective tape or seals.
- Hold the cartridge by the handle to avoid touching the toner surface.
Step 3: Install the New Toner Cartridge
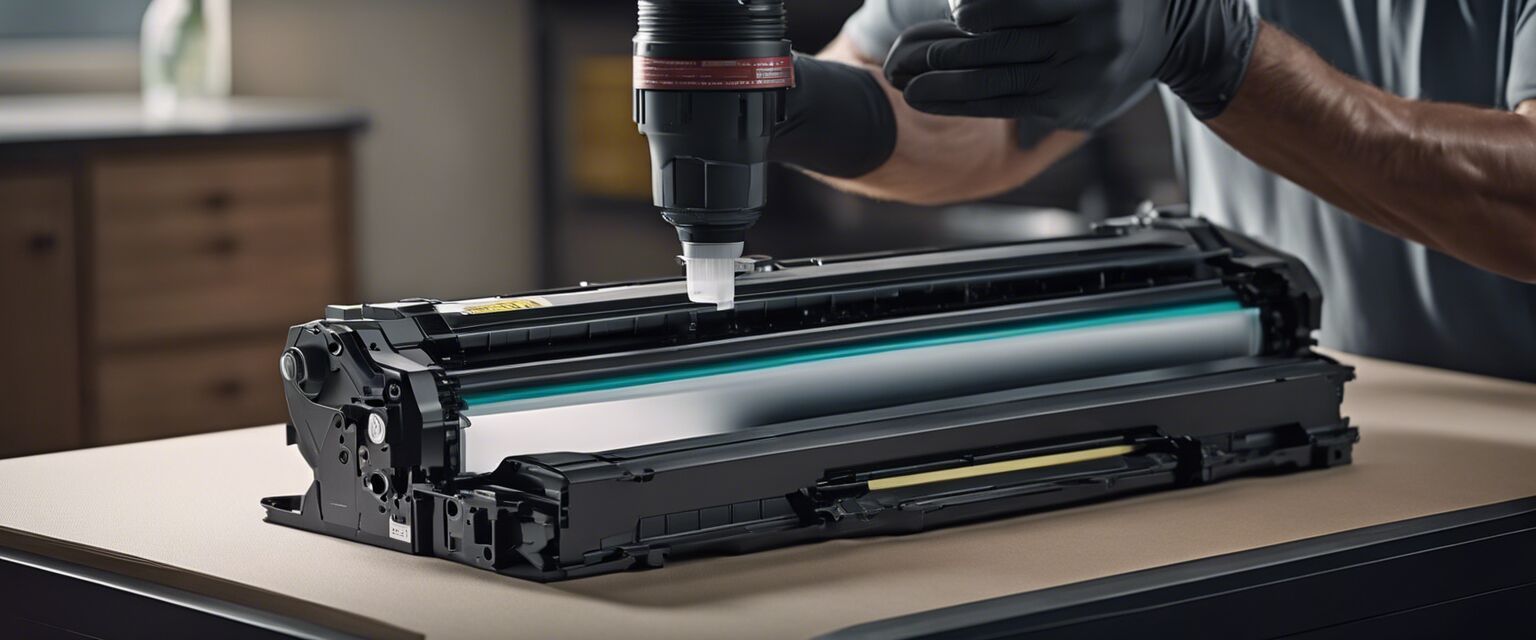
- Align the new toner cartridge with the slot inside the printer.
- Push down firmly until it clicks into place.
- Close the printer's front cover securely.
Step 4: Power On and Test
- Plug the printer back into the electrical outlet.
- Turn on the printer and let it warm up.
- Print a test page to ensure the toner cartridge is installed correctly.
Common Issues and Troubleshooting
Sometimes, you might encounter issues while installing your toner cartridge. Here are some common problems and how to resolve them:
| Issue | Solution |
|---|---|
| Toner cartridge is not recognized | Make sure the cartridge is compatible with your printer model and properly installed. |
| Print quality is poor | Check for any protective seals left on the cartridge and clean the printer drum. |
| Cartridge leaks toner | Handle the cartridge carefully, and consider replacing it if the problem persists. |
Maintaining Your HP LaserJet Printer
To ensure the longevity of your HP LaserJet printer and its toner cartridges, follow these maintenance tips:
- Regularly clean the printer to prevent dust accumulation.
- Store toner cartridges in a cool, dry place.
- Use high-quality toner cartridges for best results.
Tips for Beginners
- Always read the printer manual for specific instructions related to your model.
- Practice proper handling of toner cartridges to avoid spills.
- Consider using eco-friendly toner cartridges if available.
Conclusion
Installing HP toner cartridges is a simple task when following the right steps. By understanding your printer model and taking the necessary precautions, you can ensure that your HP LaserJet printer operates efficiently. For more information on different types of toner cartridges, check out our Compatible Toner Cartridges or Original HP Toner Cartridges pages. Happy printing!
Pros
- Easy installation process.
- High-quality prints with genuine cartridges.
- Compatible with a variety of HP LaserJet models.
Cons
- Cost of original toner cartridges can be high.
- Incorrect installation can lead to printer errors.
